I like being thrifty and making Christmas gifts and since I don’t have any normal artistic talents I resorted to my coding skills.
Months ago a Tumblr blog hit the front page that showcased the user’s movie barcodes. The finished products looked spectacular and made me want to use this idea as Christmas gifts for friends. Simply buying the posters off this user did not feel as genuine, so I decided to figure out how to make them myself.
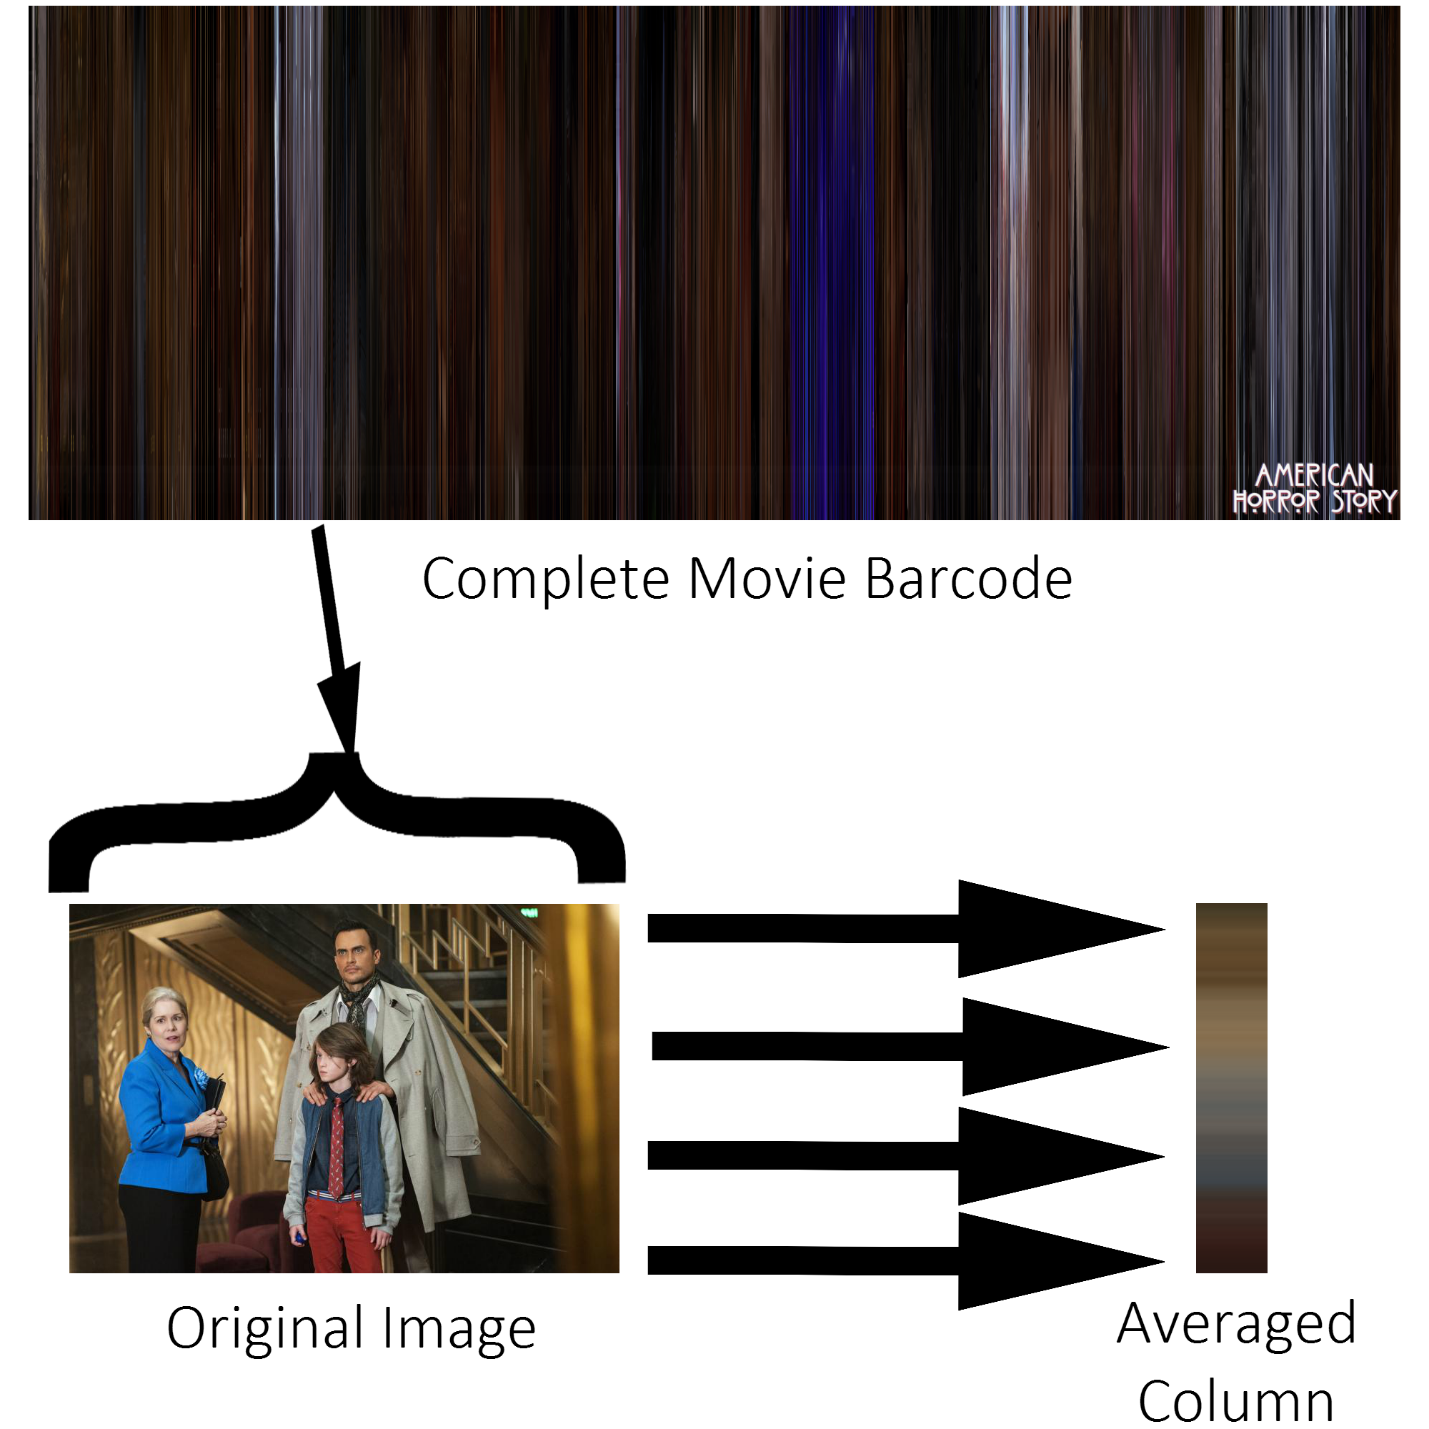
A movie barcode is a snapshot of an entire video file. Each column in the barcode represents a single frame taken from the video. These frames are sampled from the video evenly with the number of frames being sampled left up to the user. Each frame is reduced to the column format by averaging the color of every pixel in a row, saving that value in the column, and then repeating this for all rows.

Since I am currently most comfortable in Matlab I used the VideoReader() function to handle reading in the video files. I only have MATLAB 2012b so I could not use some of the newer functions such as hasFrame() and readFrame() but I made due with a simple for loop and read(). With this method it took me on average 5-20 minutes seconds per video file, with most of that time being due to the way read() steps through the video file to the desired frame. It is agonizingly slow in my opinion, but a hell of a lot faster than some other guides suggesting using VLC and playing the whole movie at x1 speed.
For those interested, I posted my code onto Mathworks FIle Exchange. You can download it here.
I messed around with quite a few aspect ratios before deciding I liked 2.66:1 the most. This is more of a personal preference since I like the rectangular look vs a more square 4:3 or even widescreen 16:9. In addition to the aspect ratio being a made as a user input, the number of samples (Or in other terms, width, the number of columns of the complete image) are also chosen. I chose 1920 because with a 2.66:1 ratio that would make my image’s height 720 which is the resolution of most of my video files.
| Type | Aspect Ratio | Example Resolutions |
|---|---|---|
| Standard | 4:3 | 480x720, 720x960, 1080x1620 |
| HD Widescreen | 16:9 | 480x854, 720x1280, 1080x1920 |
| VistaPrint Small Poster | 3:2 | 480x738, 720x1107 |
| Imax Movie | 2.35:1 | 480x1128, 720x1692 |
| Movie Barcode | 2.66:1 | 480x1280, 720,1920 |
The last thing I had to do, was get rid of those stupid credits! I am all for giving credit to content creators, but it really ruins the whole movie barcode thing. So to determine the ’last frame’ of the video file I averaged the contents of the frame 5 minutes from the end of the real last frame. If it was below a threshold of 100 (arbitrary value, but it worked) then it would move to a frame 30 seconds further from the real last frame and try again. Alternatively if it was above the threshold at the 5 minute mark it would go 30 seconds closer to the real last frame. It worked better than I thought it would, and so much better than doing it all by hand!
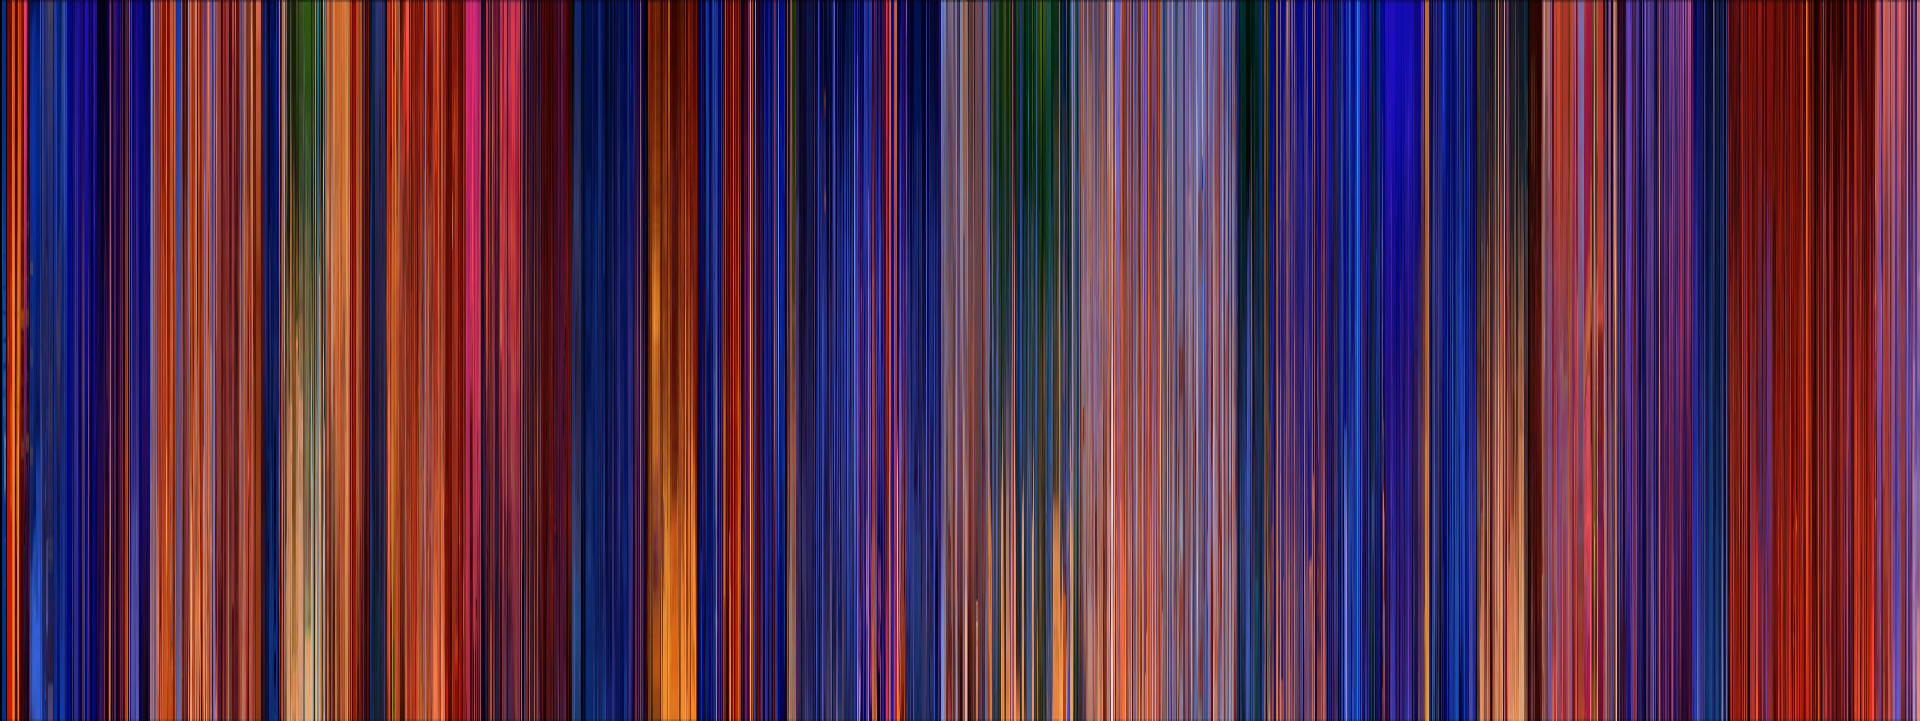
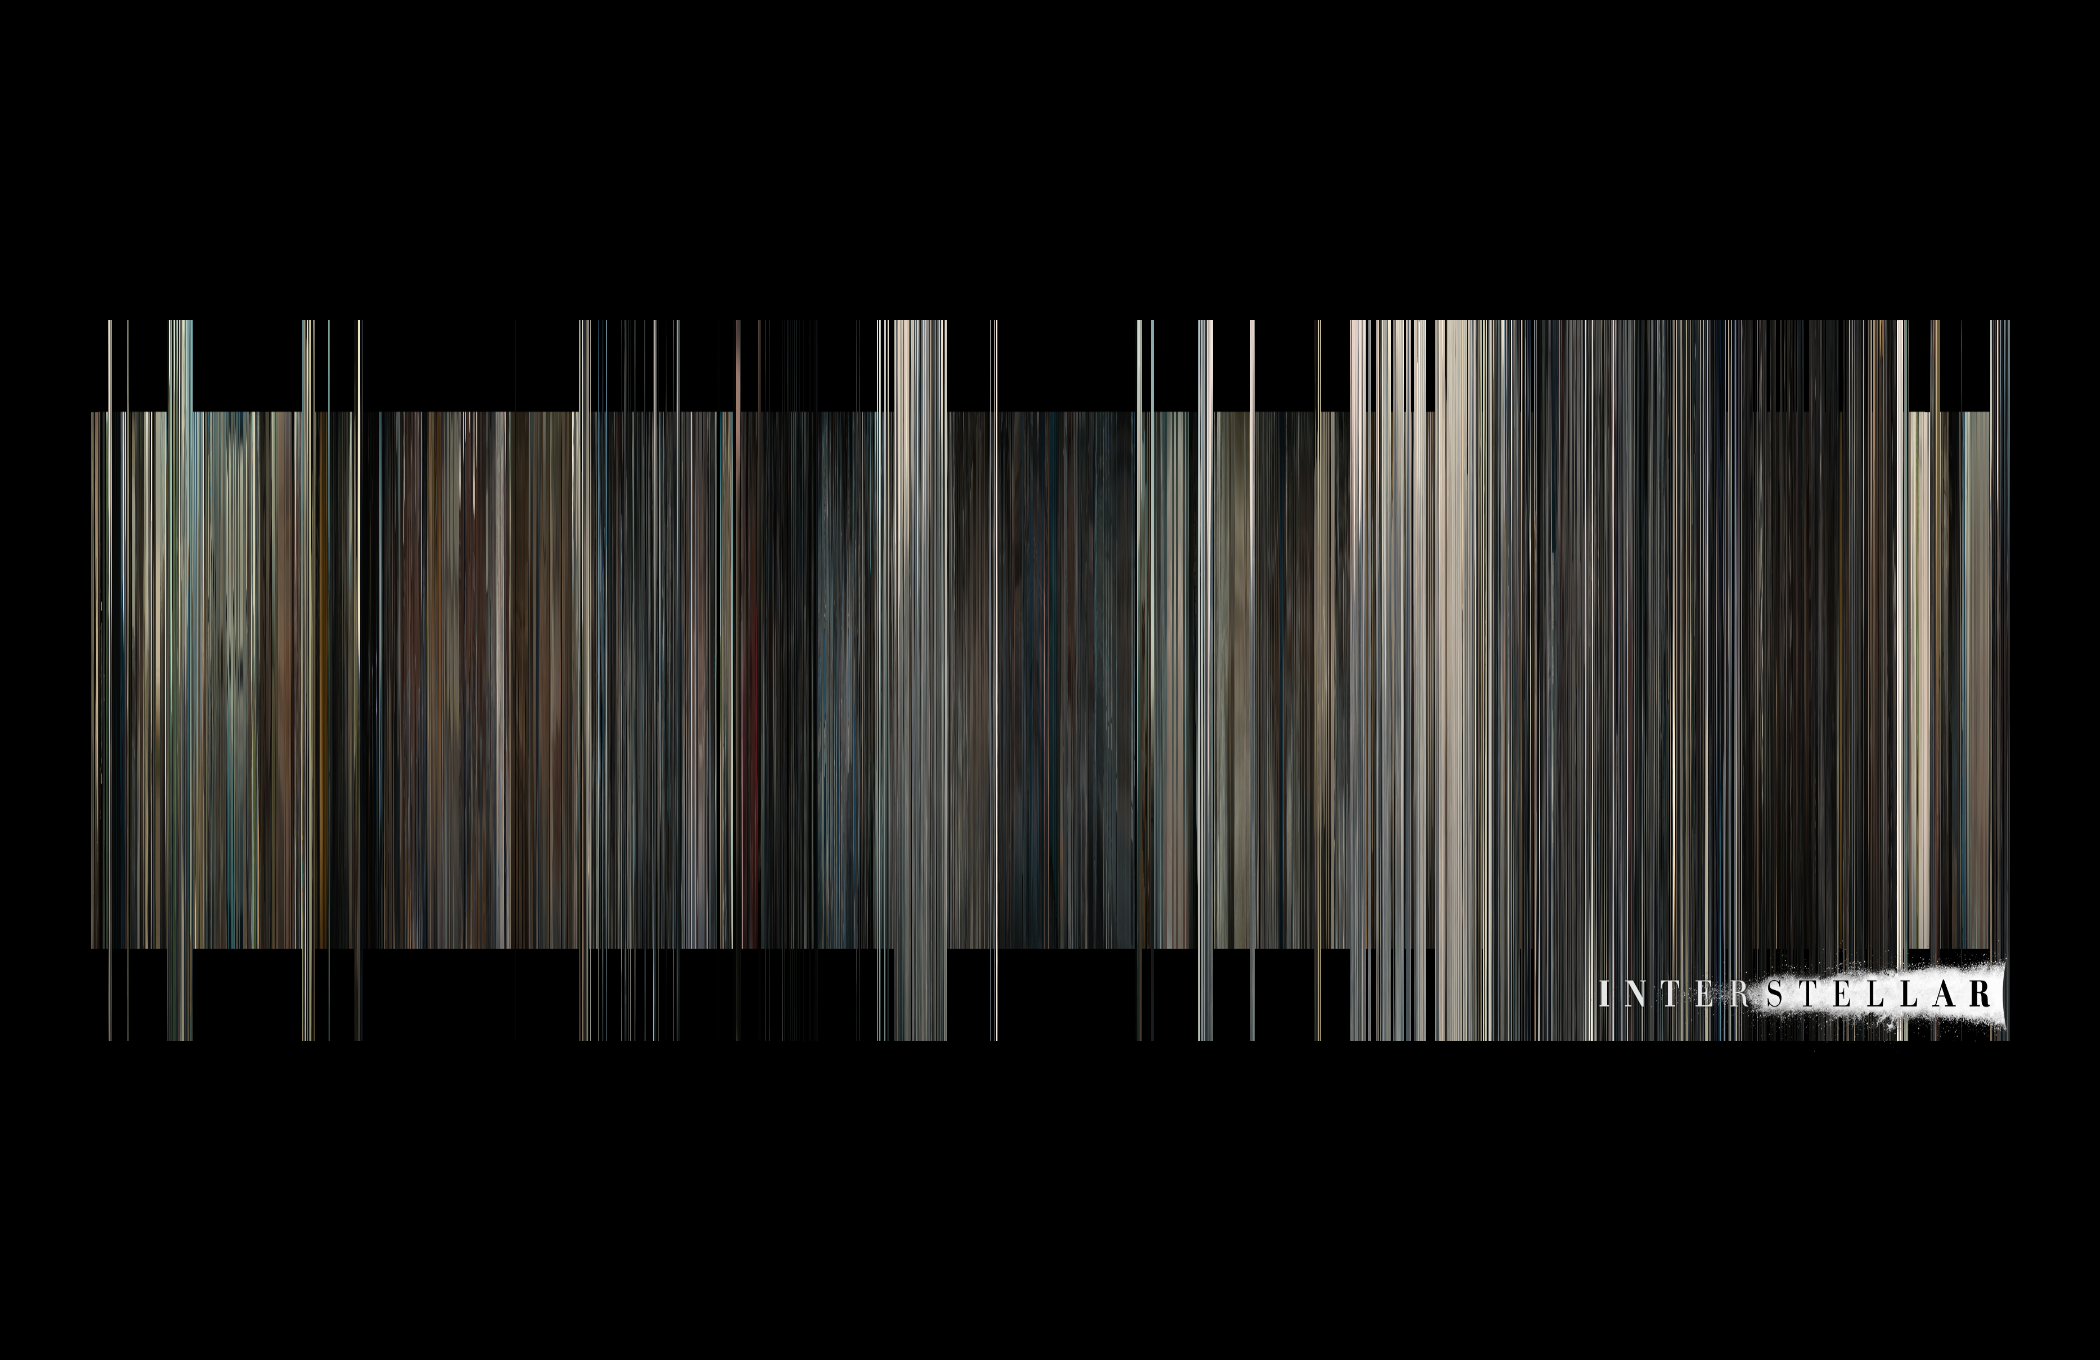
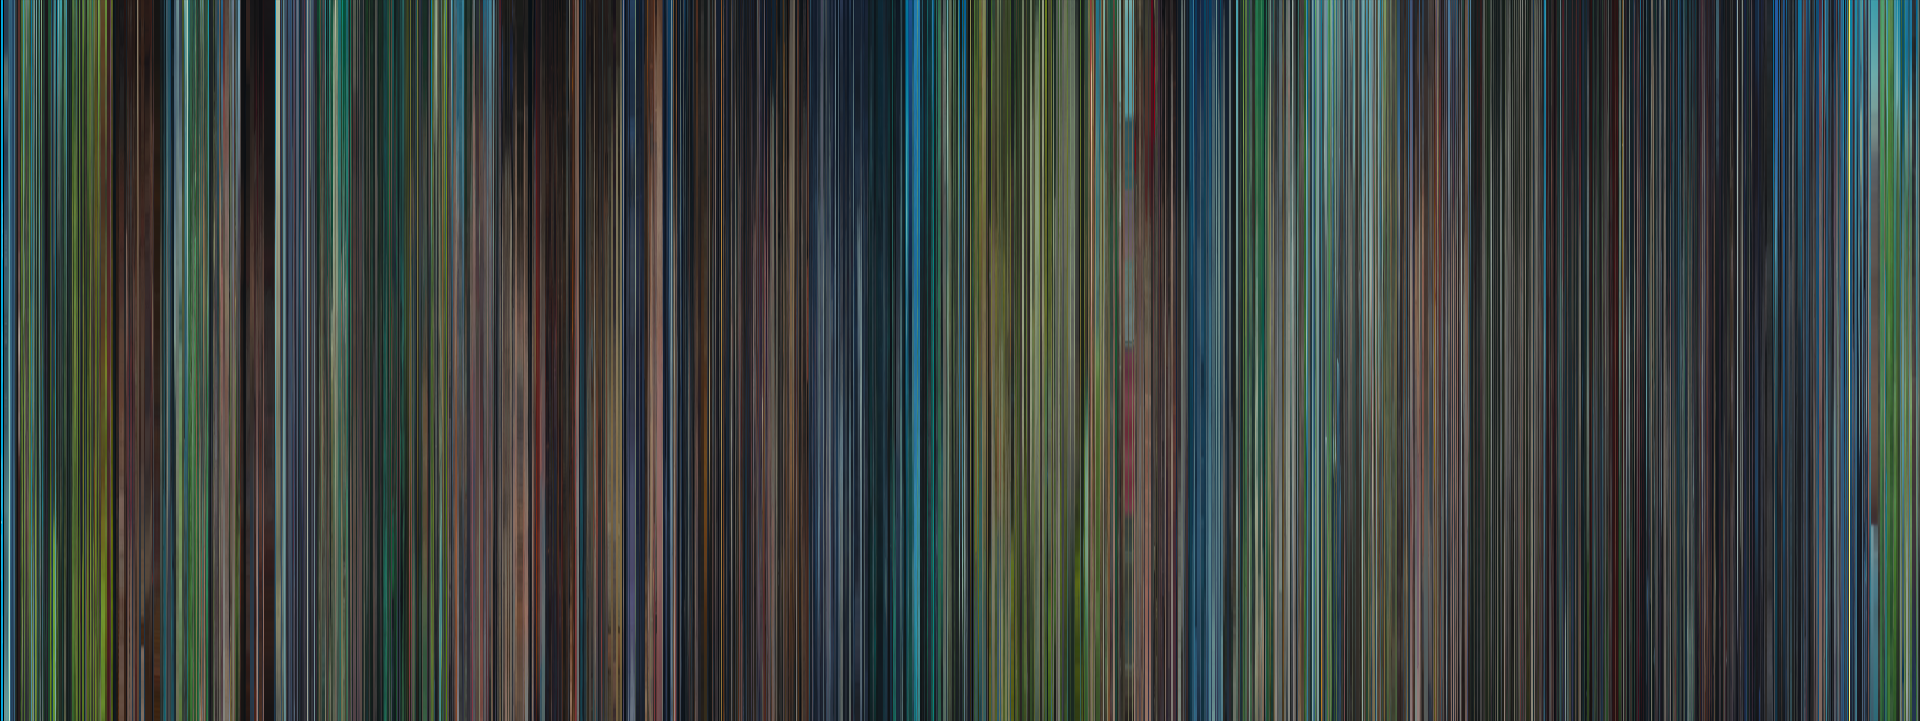
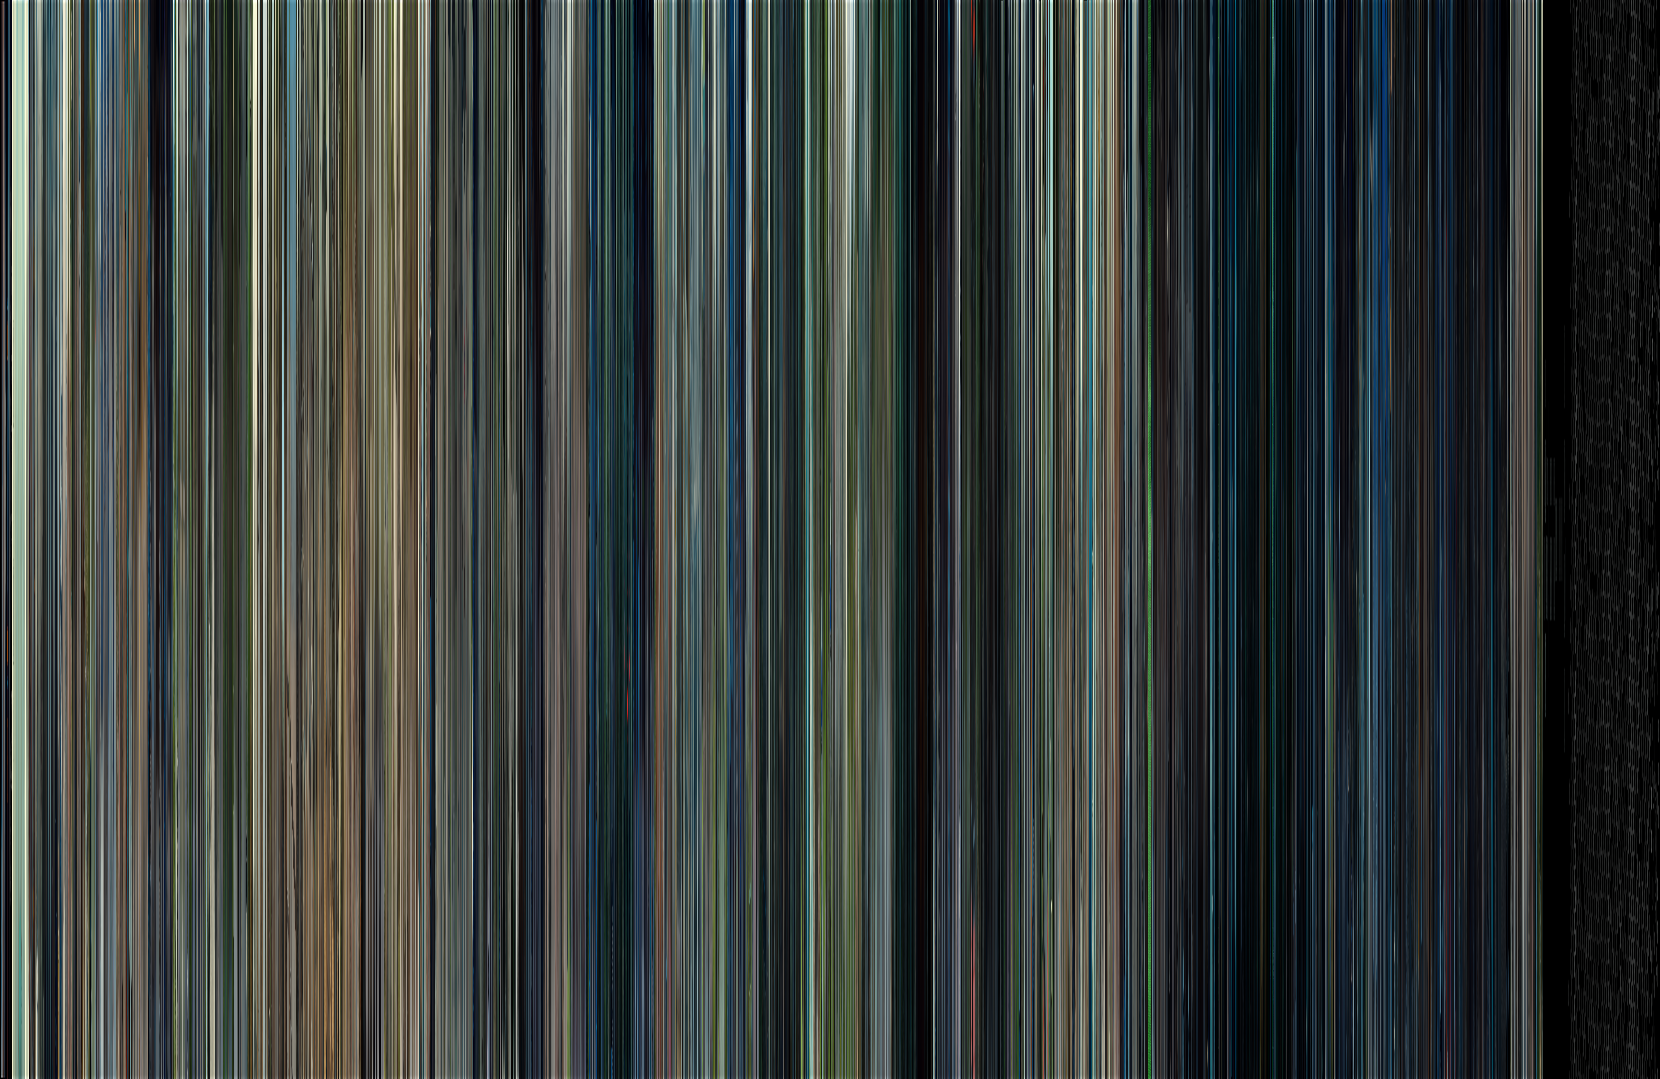
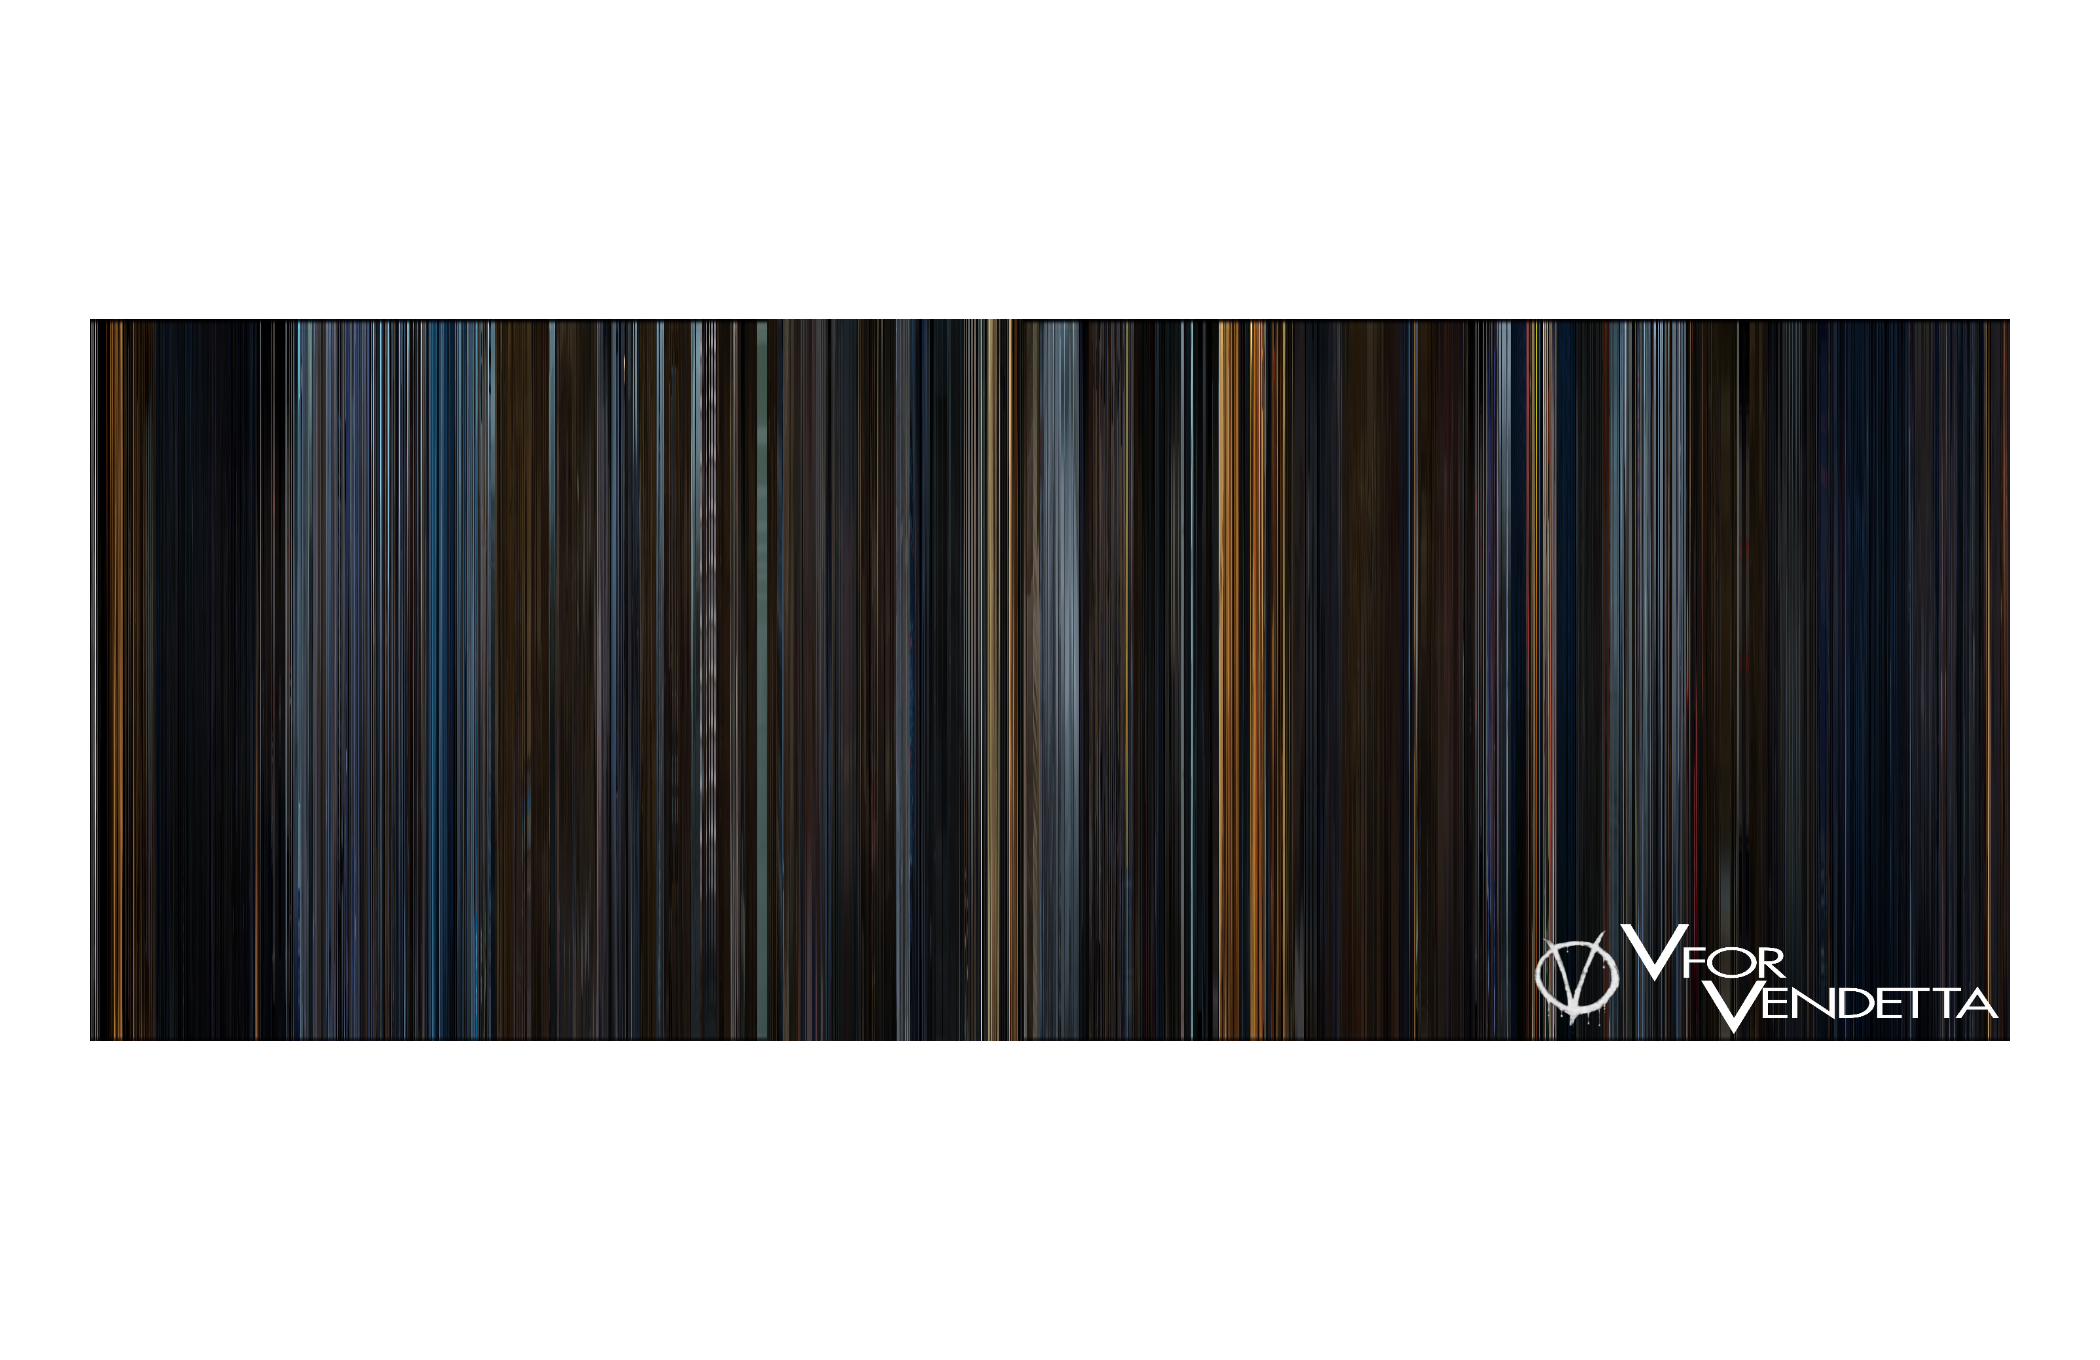
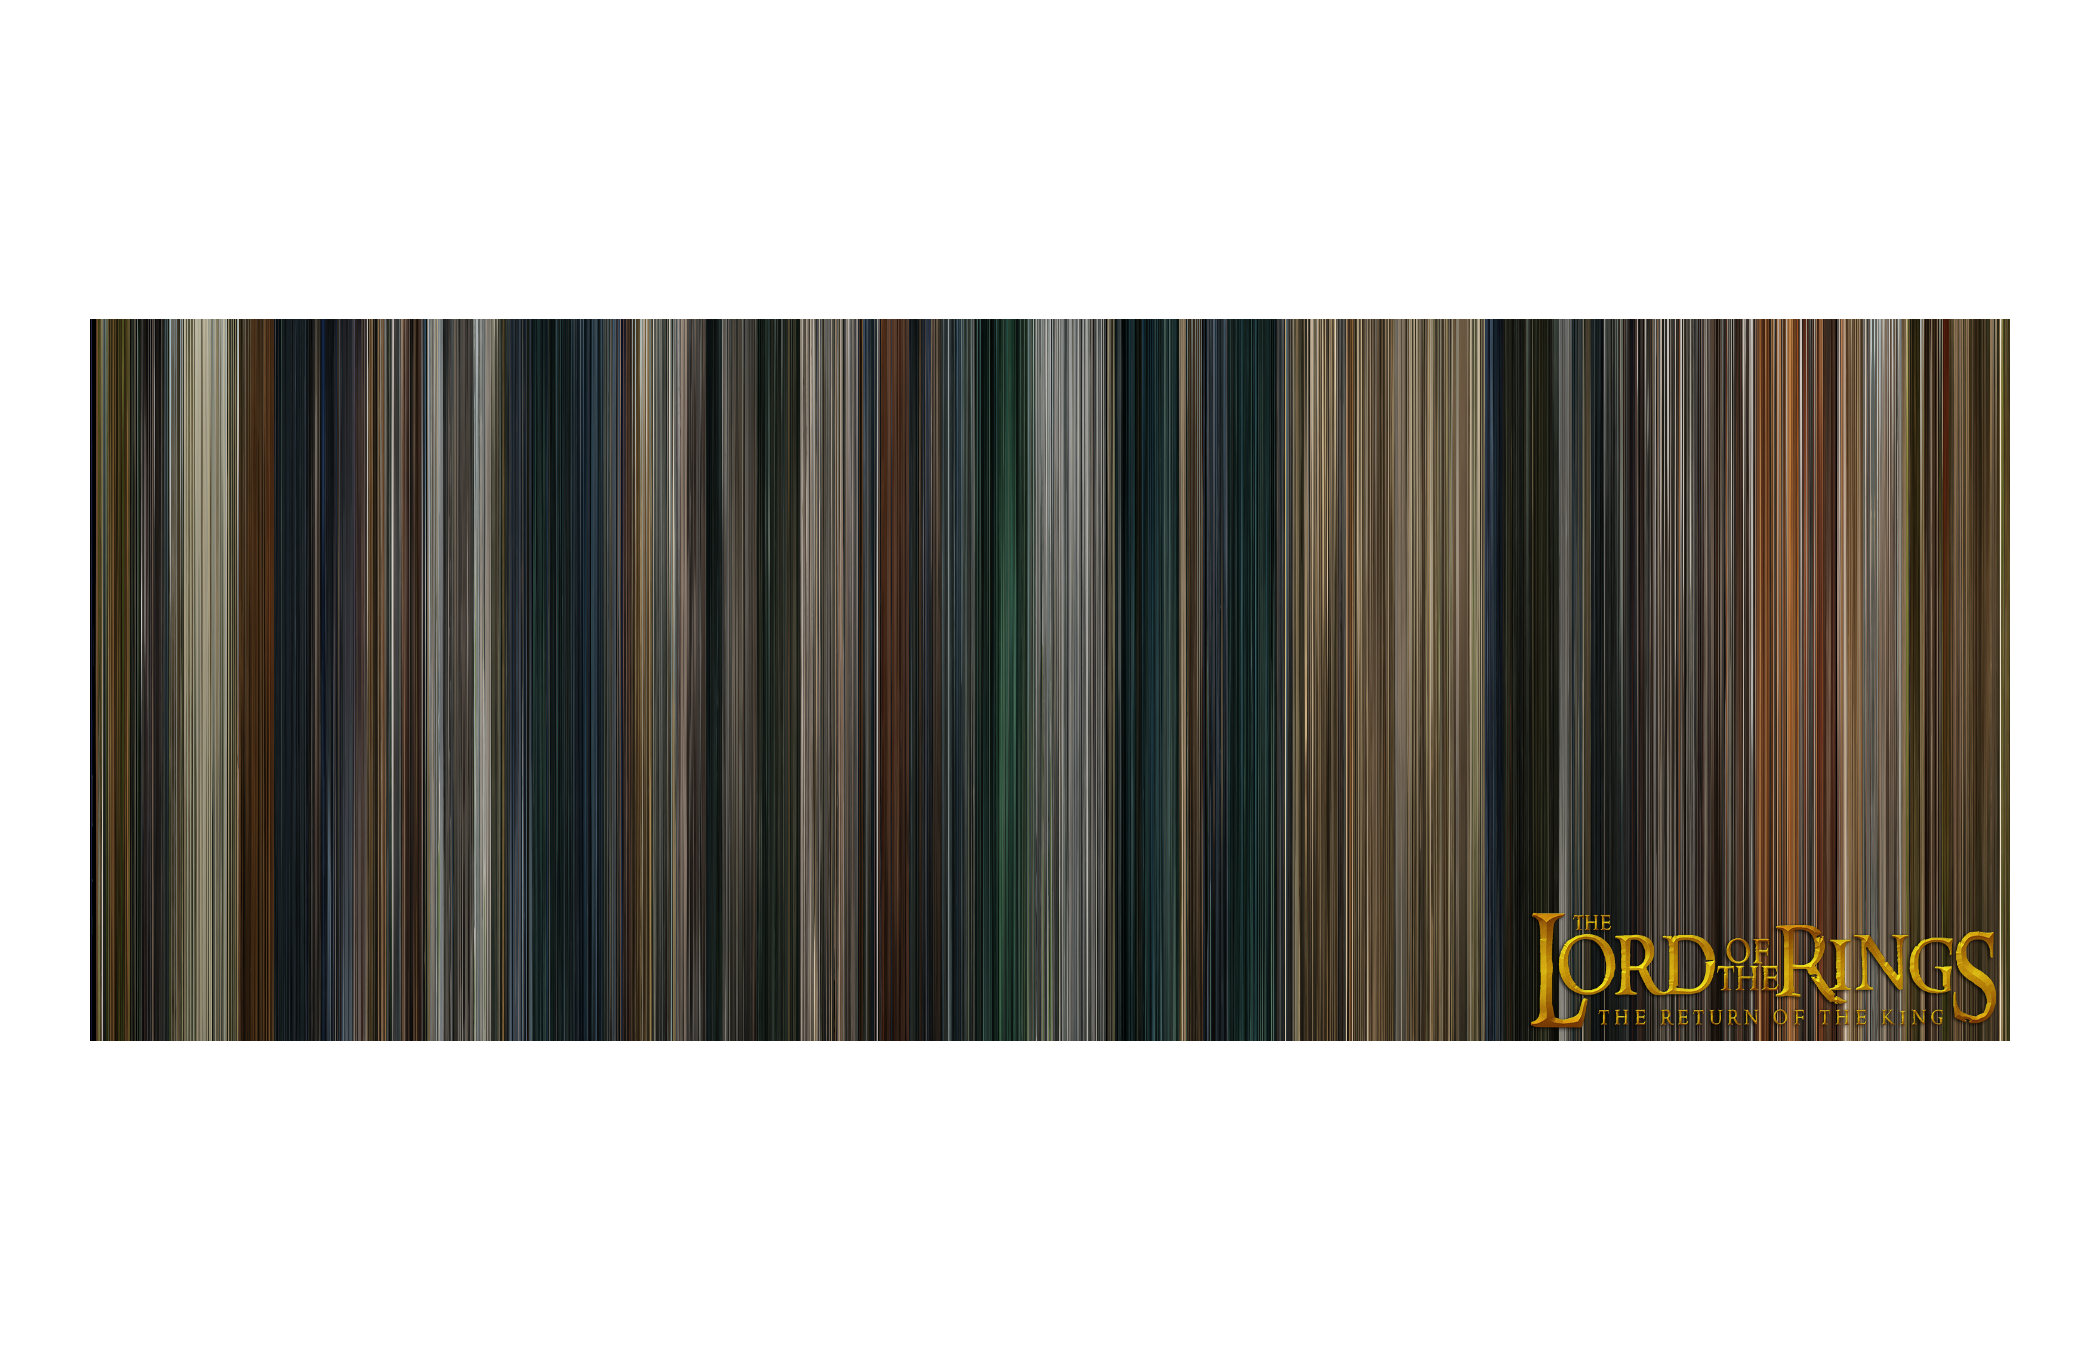
Here are some of my finished products. I printed them through Vistaprint.com on 11in x 17in premium poster paper and added the movies logo so I could keep track of them (Plus it really adds that finishing touch.). They came out looking fantastic! Not a Vistaprint employee but I ordered 35 posters so far and not a single one has come looking less than perfect.
Some of them felt a little sharp so I used an online image editor (too cheap for Photoshop) to blur it a bit.
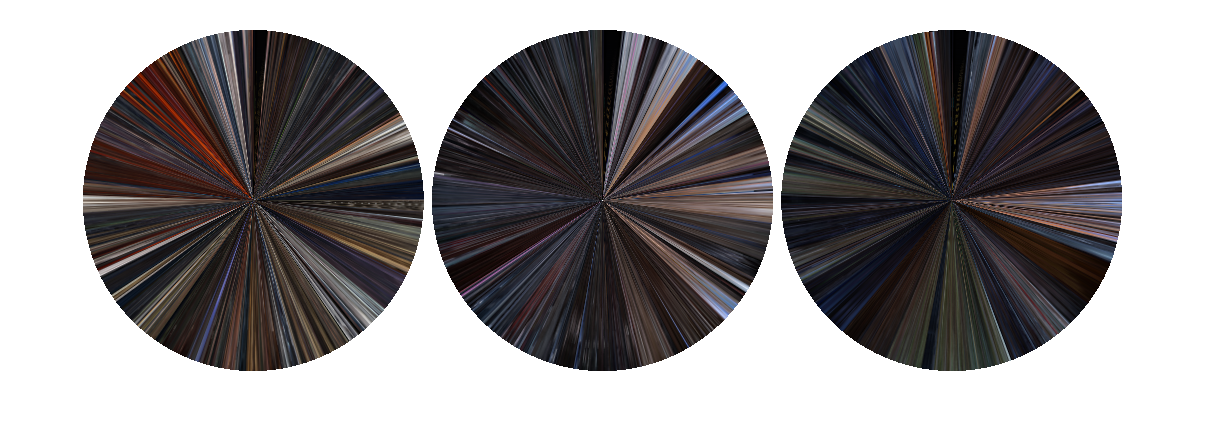
While tweaking my code I thought it would be cool to try converting some into polar coordinates. Here is a few Star Wars movies converted to polar form. From left to right: Episode III, Episode IV, and Episode VI.
The image starts at 12 noon position, moves around in a clockwise direction, and ends at the top.
Again, for those interested, I posted the code used to create these images in polar format. You can download it here.
Thanks for reading! If you enjoyed that or are looking for more check out my Imgur post or my gallery of all of my barcodes by clicking on the red icon on the bottom left.